
Managing Connection Groups
Quick Tips
- Multiple Connection Groups can be assigned to a Company.
- New Connection Groups can be created, or existing ones can be renamed or deleted as required.
Quick Navigation:
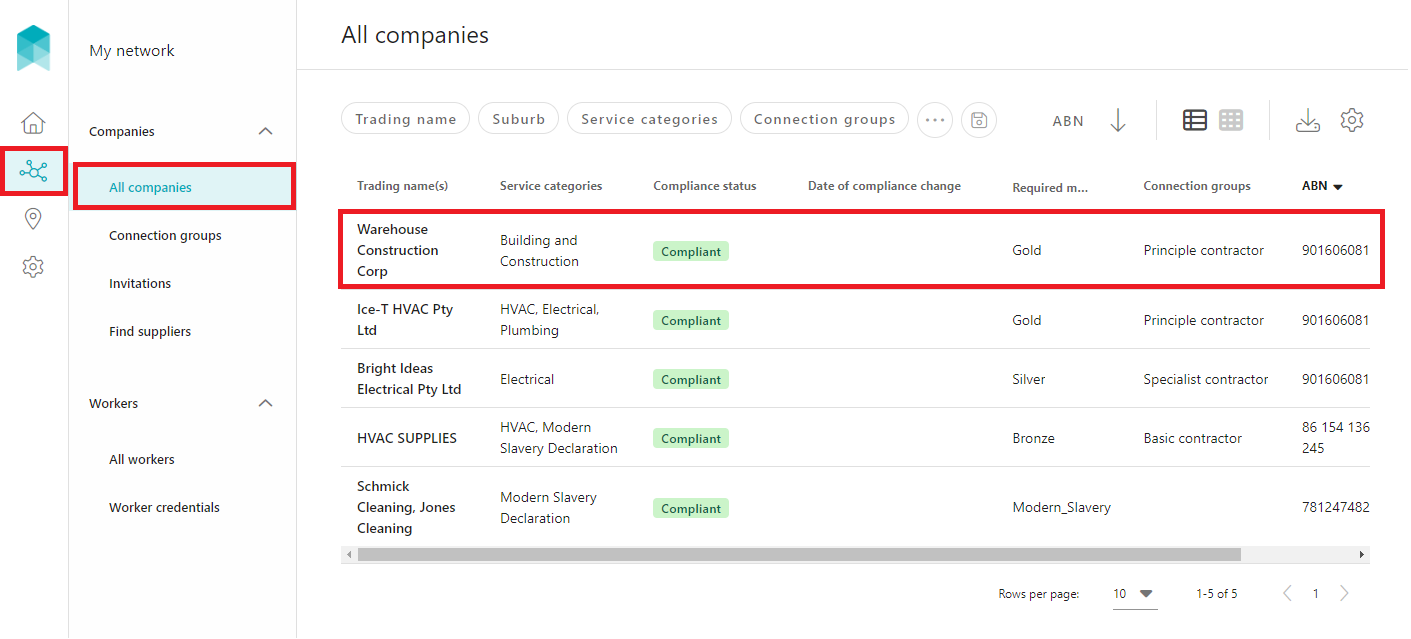
Log-in > My network > Companies > Connection groups
Connection Groups
If you are managing a large volume of companies within your network, you may want to create a connection group which can be used to easily identify a cohort of companies.
Adding a Connection Group
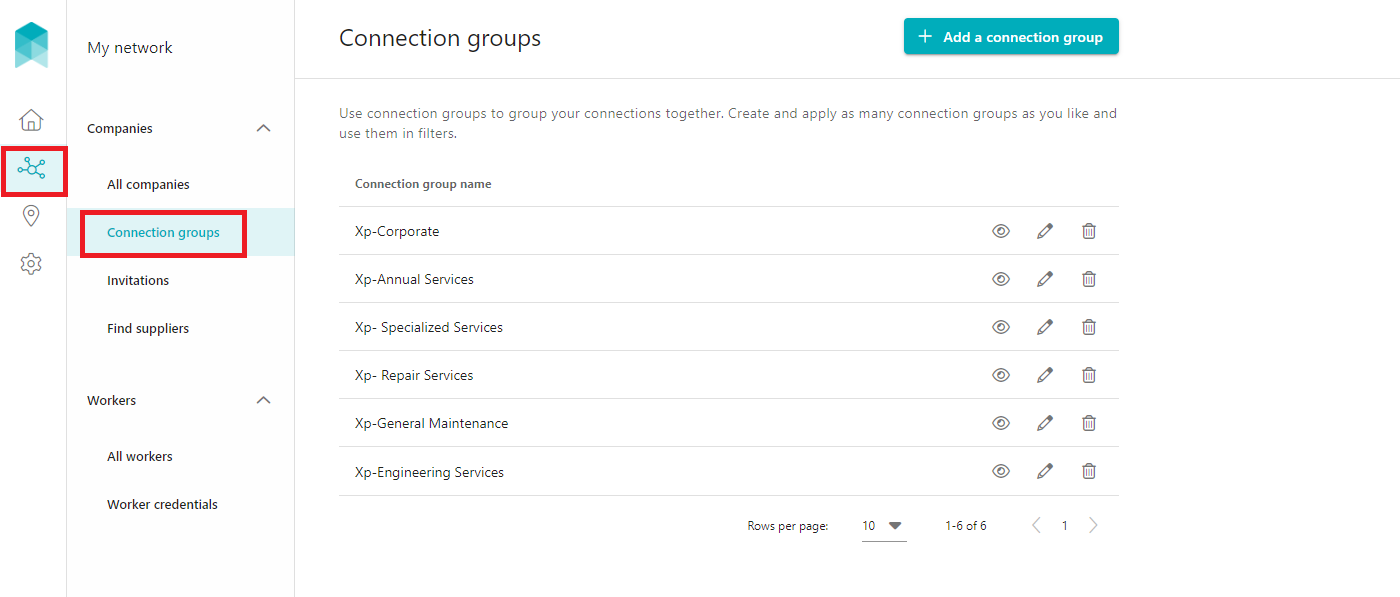
- Click My network in the left hand side menu.
- Select Connection groups - a list of all existing connection groups will be displayed.

-
Click the + Add a connection group button located in the top right corner of the Connection groups page. Add the name of the new connection group and then click the SAVE button. When presented with the confirmation notification, click the CLOSE button.


Assigning a Connection Group to a Company
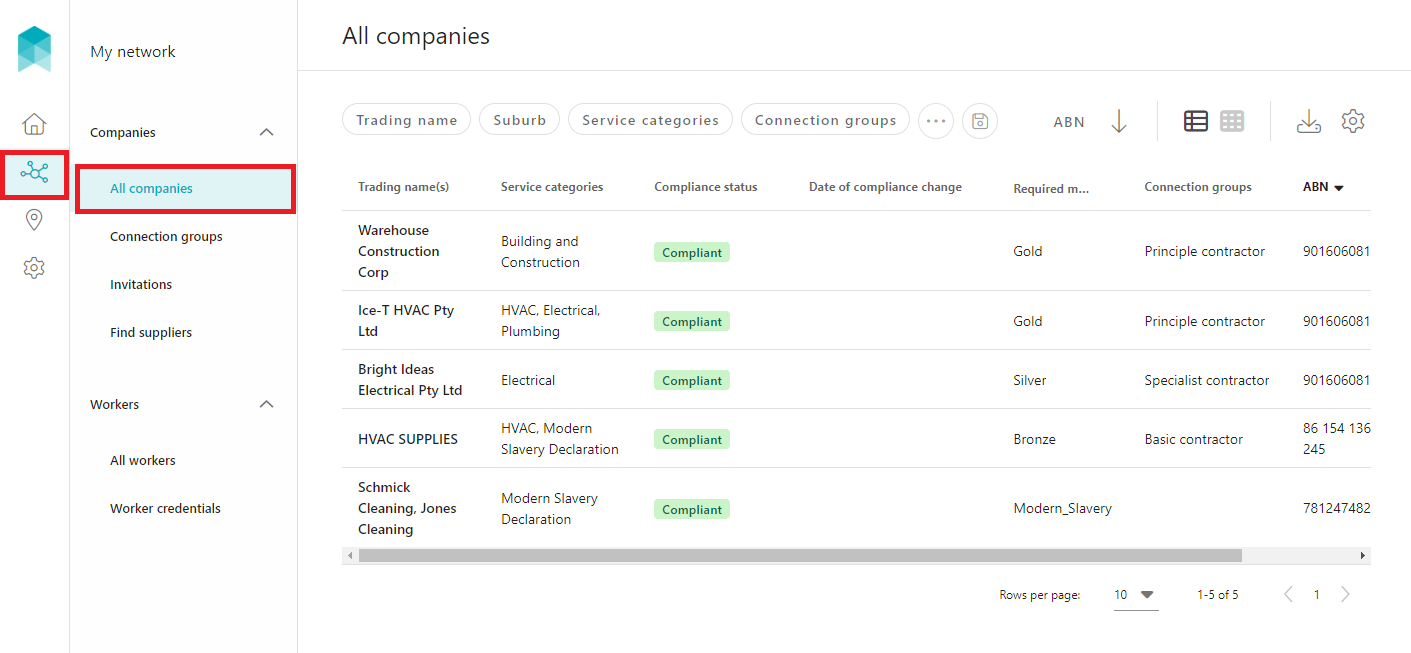
- Click My network in the left hand side menu - a list of All companies in your network will be displayed.

- Click on the company which is to be assigned a connection group. Use the search filters appearing at the top of the company list to find a company quickly. For more information, refer article: Using Filters when Searching.

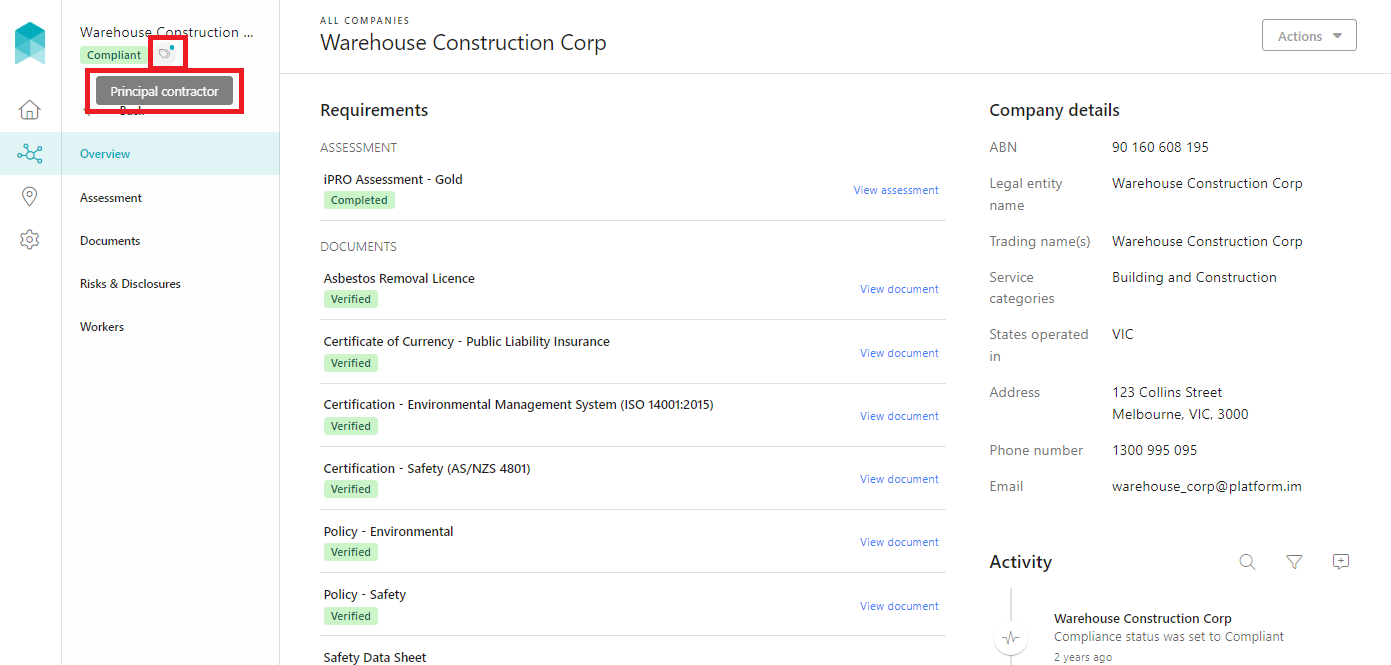
- Click Connection Groups indicated by the tag icon. Select the applicable connection group/s from the list of options available, and then click outside of the selection area to continue. Click the SAVE button to assign the connection group to the company. When presented with the confirmation notification, click the CLOSE button.
 A green dot will appear on the connection group tag icon to indicate connection group/s have been applied. Hovering the mouse over the tag icon will display the connection groups that have been assigned to the company.


Renaming a Connection Group
- Click My network in the left hand side menu.
- Select Connection groups - a list of all existing connection groups will be displayed.
-
Click on Edit indicated by the pen icon beside the connection group that needs to be updated. Make the changes as required and then click on the SAVE button. When presented with the confirmation notification, click the CLOSE button.
The renamed connection group will be automatically applied to any company that has the connection group assigned.

Deleting a Connection Group
- Click My network in the left hand side menu.
- Select Connection groups - a list of all existing connection groups will be displayed.
- Click on Delete indicated by the bin icon beside the applicable connection group. Click the DELETE button when requested to confirm. When presented with the confirmation notification, click the CLOSE button. The deleted connection group will be automatically removed from any company that has the connection group assigned.

Viewing Companies assigned to a Connection Group
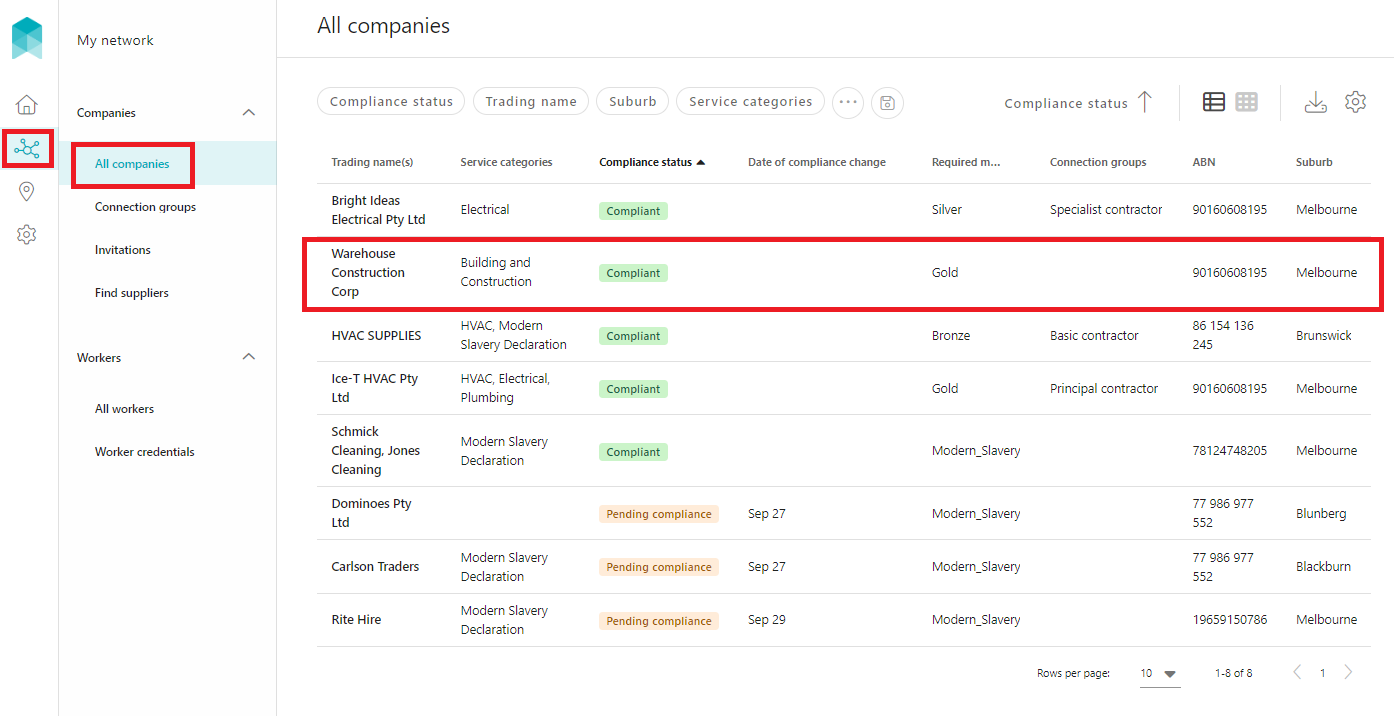
To view the cohort of companies that are assigned a particular connection group, click My network > Connection Groups. Click on Show companies with this connection group indicated by the eye icon. You will be redirected to My network > All companies where a list of companies, filtered by the Connection group, will be displayed.
Removing a Connection Group from a Company
- Click My network in the left hand side menu - a list of All companies in your network will be displayed.
- Click on the company from which the connection group is to be removed. Use the search filters appearing at the top of the company list to find a company quickly. For more information, refer article: Using Filters when Searching.
- Click on Connection groups indicated by the tag icon. Click on the x beside the connection group that is to be removed from the company. Click the SAVE button to remove the connection group. When presented with the confirmation notification, click the CLOSE button.


