Deleting a User
Quick Tips
- A user's account can only be disabled, it cannot be deleted.
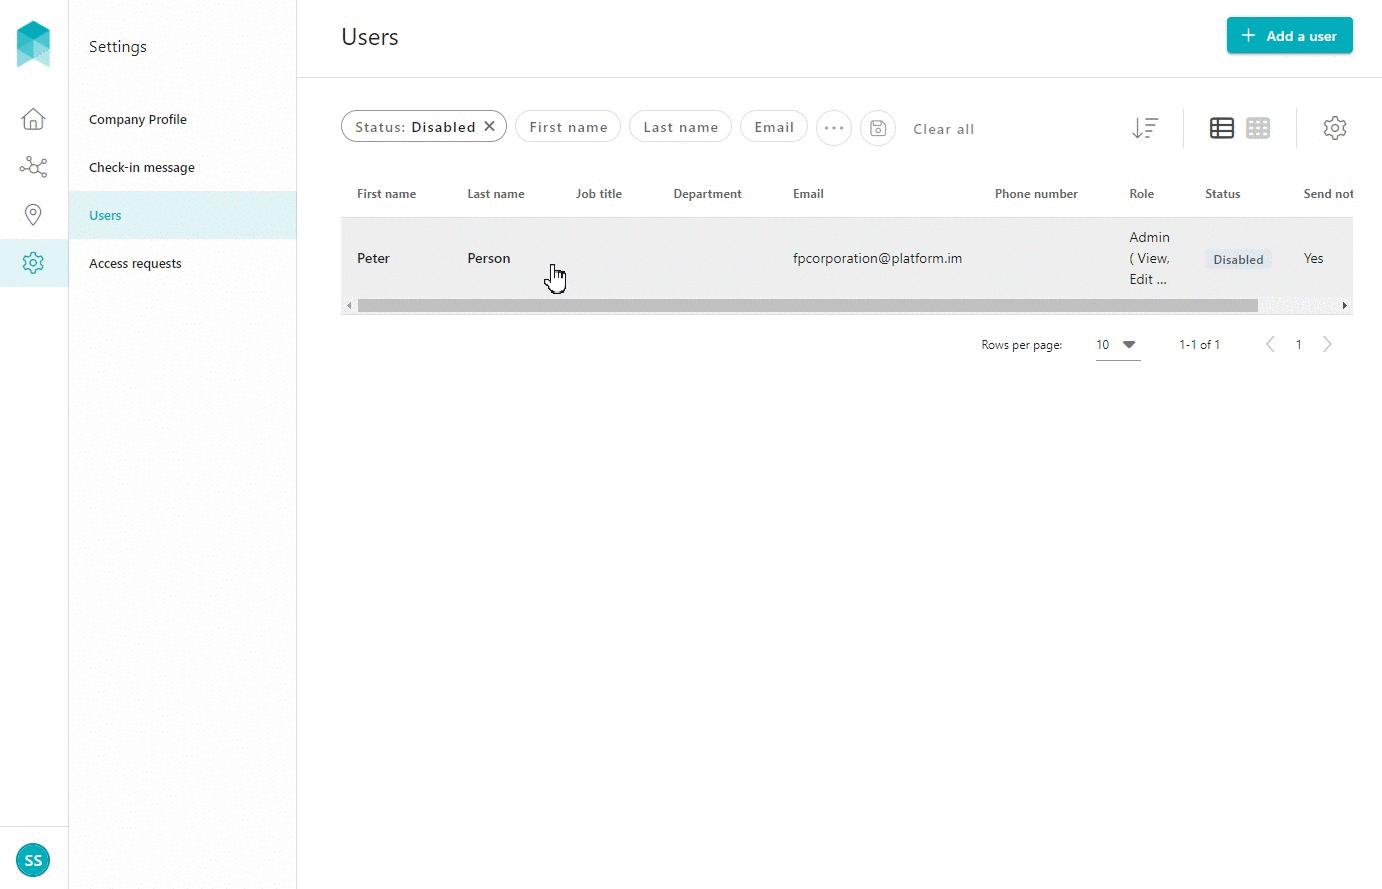
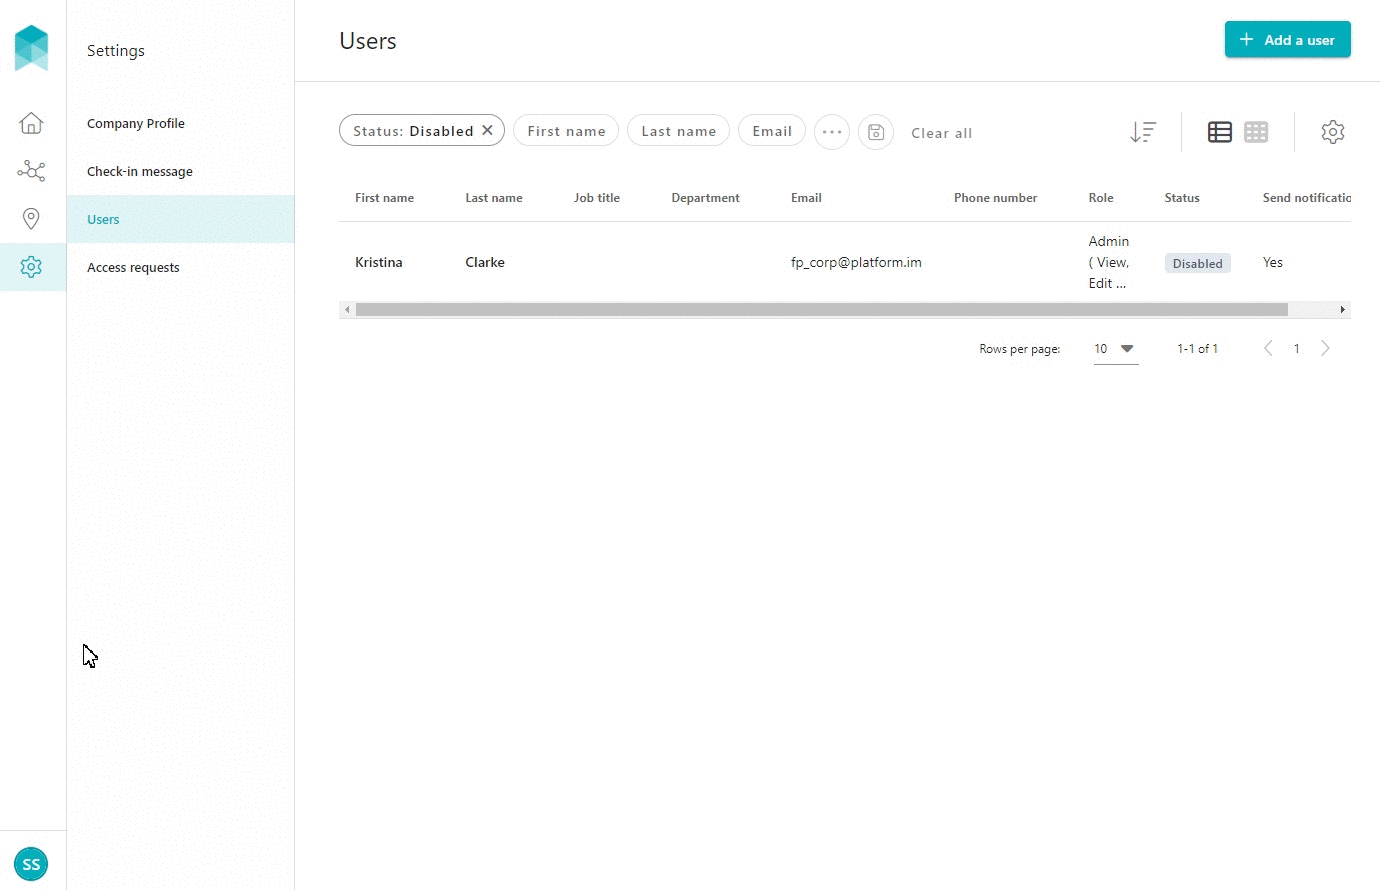
- Disabled users will not appear in the Users list by default. To view the disabled users on your account, filter the Users list by Status is Disabled.
- Disabled users will no longer be able to log in to their user account.
Quick Navigation:
Log in > Settings > Users > User Name > Actions > Disable user
Disabling a User
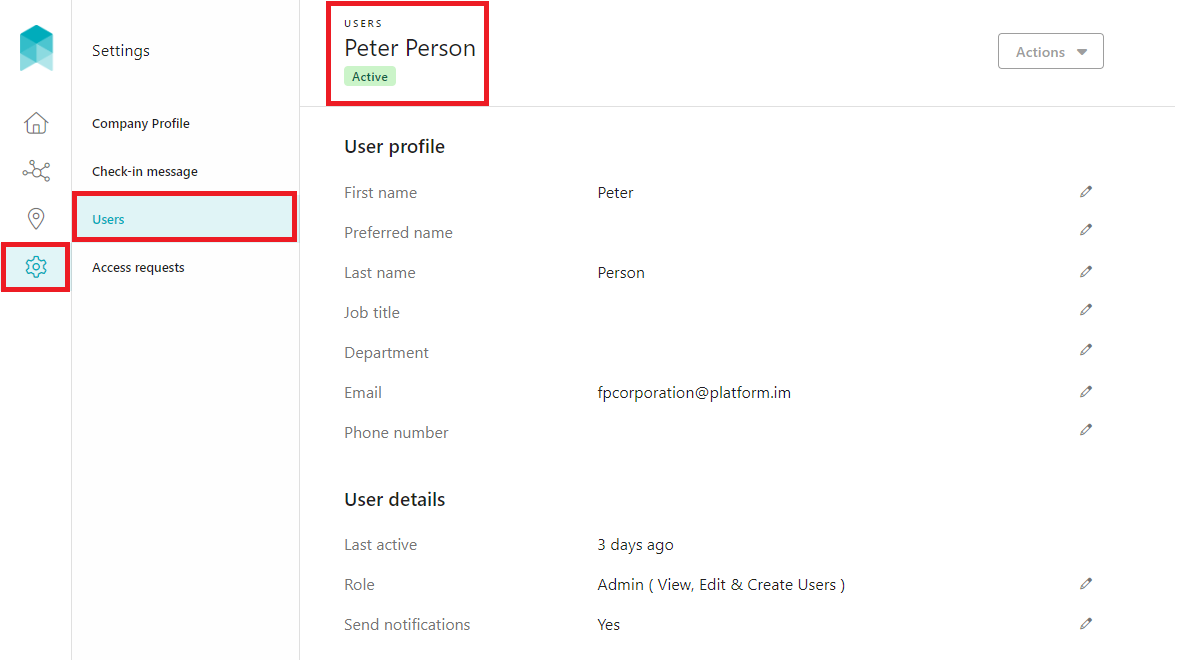
- Click Settings in the left hand side menu.
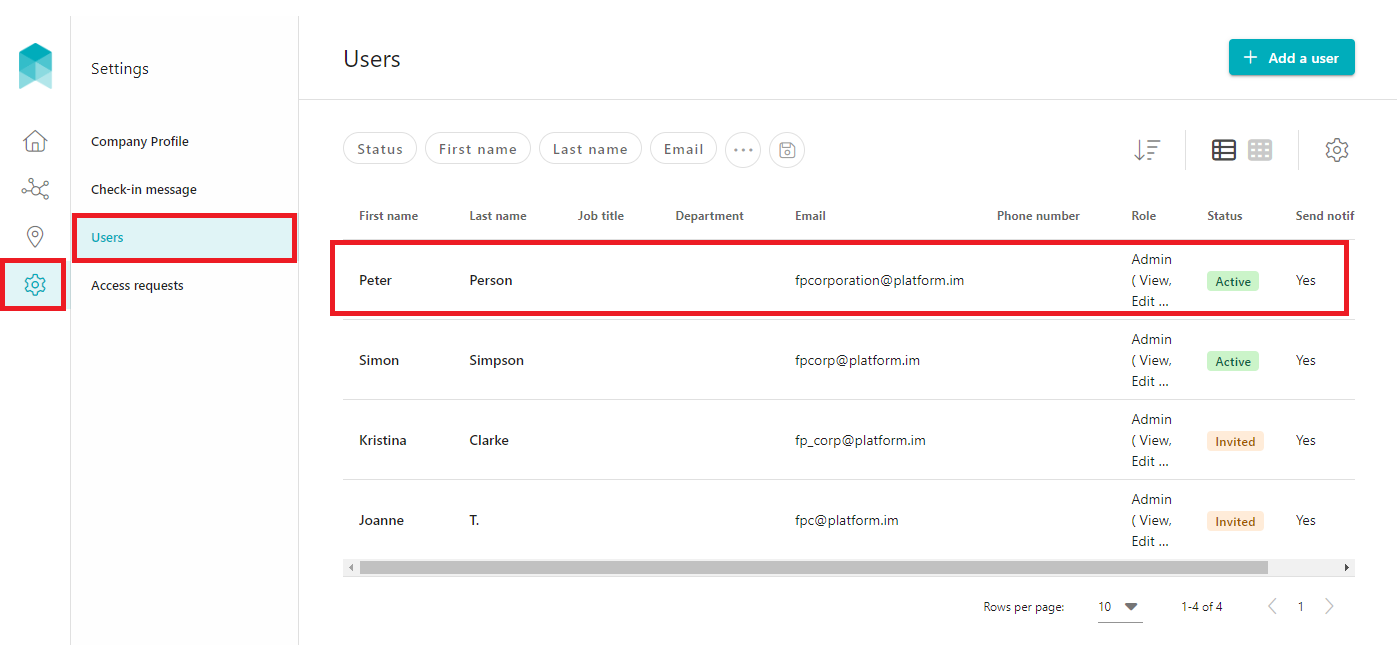
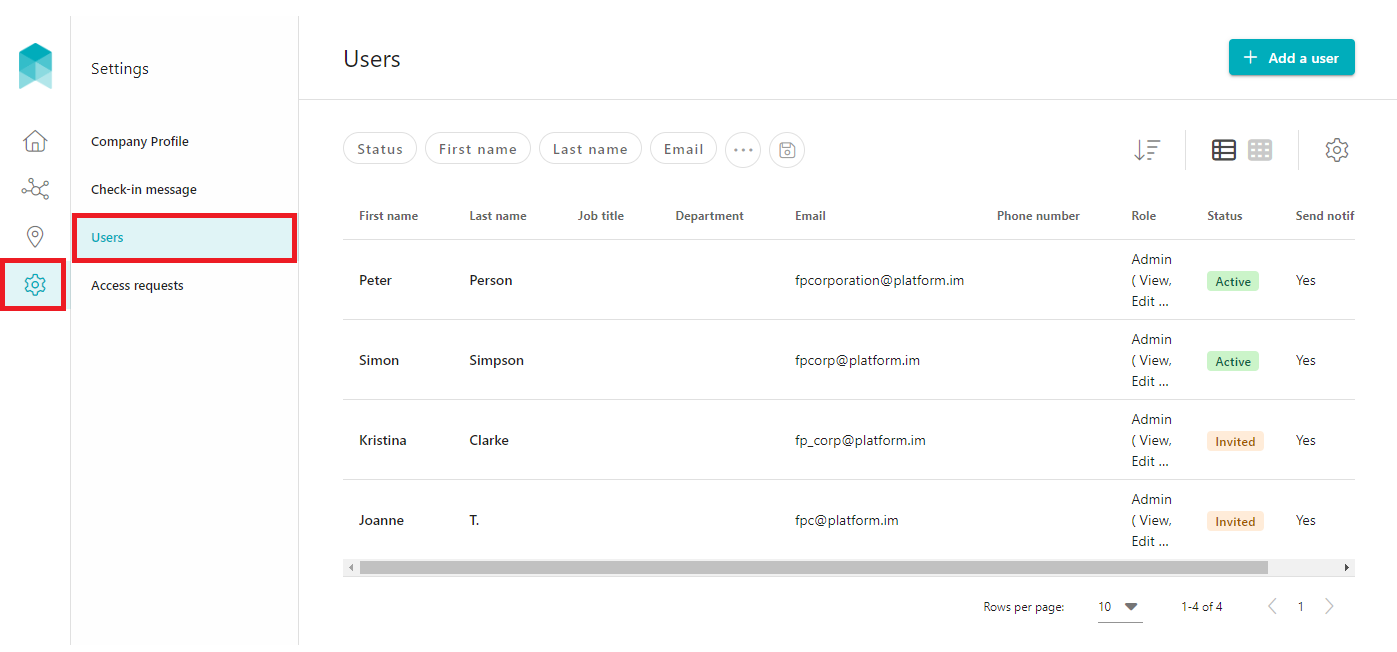
- Select Users - a list of the users will be displayed.

-
Click on the user who is required to be disabled. Use the search filters appearing at the top of the user list to find a user quickly. For more information, refer article: Using Filters when Searching.
-
You will be re-directed to the user's page displaying their profile information and their details.
-
Click on the Actions button located in the top right corner of the user's page, and then select the Disable user option. When presented with the notification, click on the CONFIRM button to successfully disable the user. The user will no longer be able to log in and will be removed from the Users list.


Viewing Disabled Users
- Filter the Users list by: Status is Disabled
-
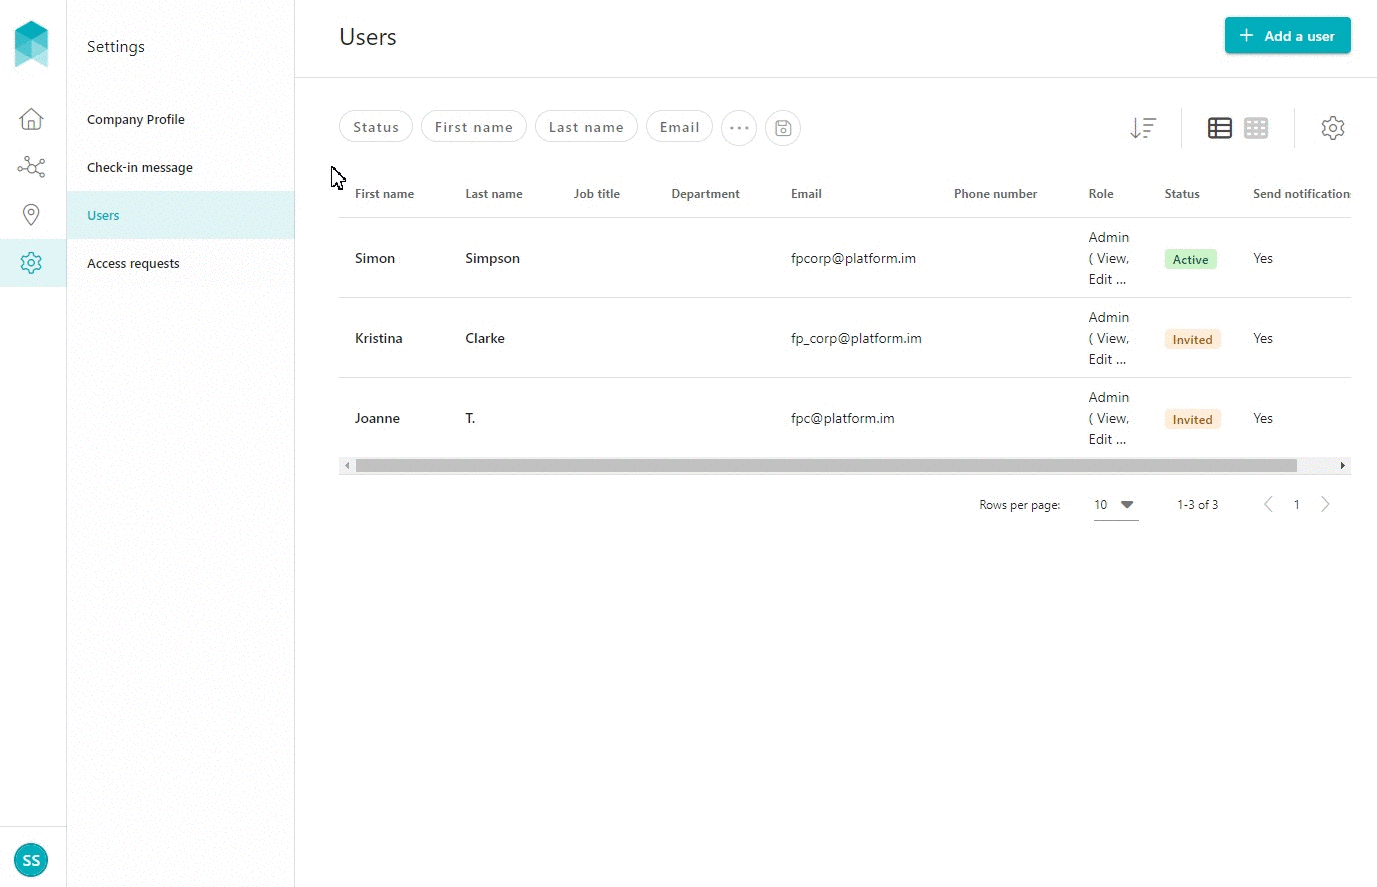
Click on the disabled user record to view the user's information.

Activating a Disabled UserTo activate a disabled user who was previously in an Active state, click on the disabled user record, and then click on the Actions button located in the top right corner of the page. Select the Set to active option.
When presented with the notification, click on the CONFIRM button to activate the user account then click on the CLOSE button.
The user will now be able to log in and will appear in the Users list.
or
To activate a disabled user who was previously in an Invited state, click on the disabled user record, and then click on the Actions button located in the top right corner of the page. Select the Resend invitation email option.
When presented with the notification, click on the CONFIRM button, then click on the CLOSE button.
The invitation will be resent to the user.

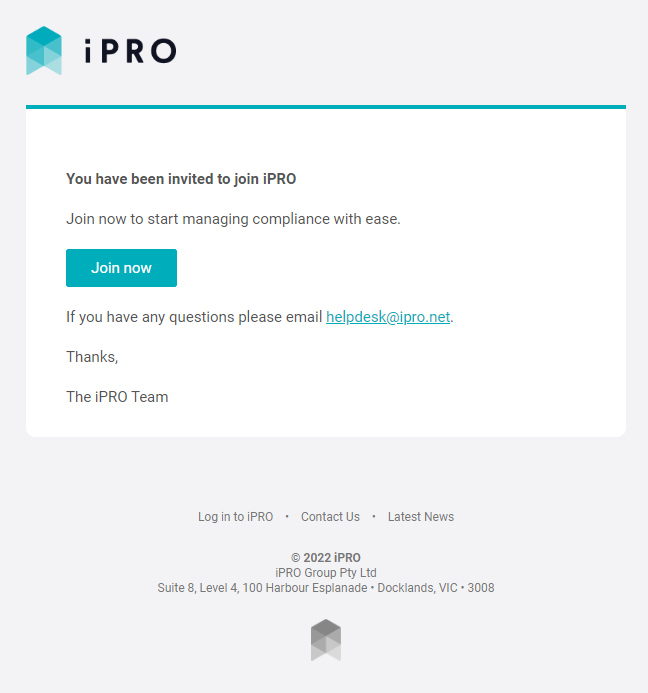
The user will be sent an invitation via email to join iPRO, with a link to activate their user account. The user is to click on the Join now button in the email, and then activate the account by setting the first name, last name, and a password. Upon successful activation of the account, the user will appear with an Active status in the Users list.