Checking out Workers Manually from a Location
Quick Tips
- A worker is required to check out at the time of departing a client site. Workers who have forgotten to check themselves out may be checked out manually by those User/s registered on your iPRO account who have an Active status.
- Manual checkout allows workers to be checked out individually or in bulk.
-
To view real time data, refresh the page by clicking on refresh, indicated by a circular arrow-shaped icon, usually located to the left of the address bar.
Quick Navigation
Log in > Home > Currently checked in (dashboard chart) > Check out workers (hyperlink)
OR
Log in > Locations > Activity > Actions > Bulk check out
OR
Log in > Locations > Activity > Filter by Access status is Checked in > Check out
Checking out a Worker Manually
Depending on the client's requirements, a worker may be required to check-in to the client site upon arrival, and then check out of the client site upon departure. Sometimes a worker may forget to check out which may present problems when checking in to another location or when required to estimate the duration of time the worker has spent at the client site.
Workers who have forgotten to check themselves out may be checked out manually by those User/s registered on your iPRO account who have an Active status.
There are three ways to check out a worker manually:
1. via Dashboard (located in the Home menu): This option allows you to check out one or more workers simultaneously.
2. via Locations > Activity > Actions button: This option allows you to check out one or more workers simultaneously.
3. via Locations > Activity > Check out, indicated by the outward arrow icon: This option allows you to check out one worker at a time.
Upon manual check out, the worker's activity will be automatically updated to display the date and time of check out. The date and time cannot be adjusted.
1. Checking out via the Dashboard
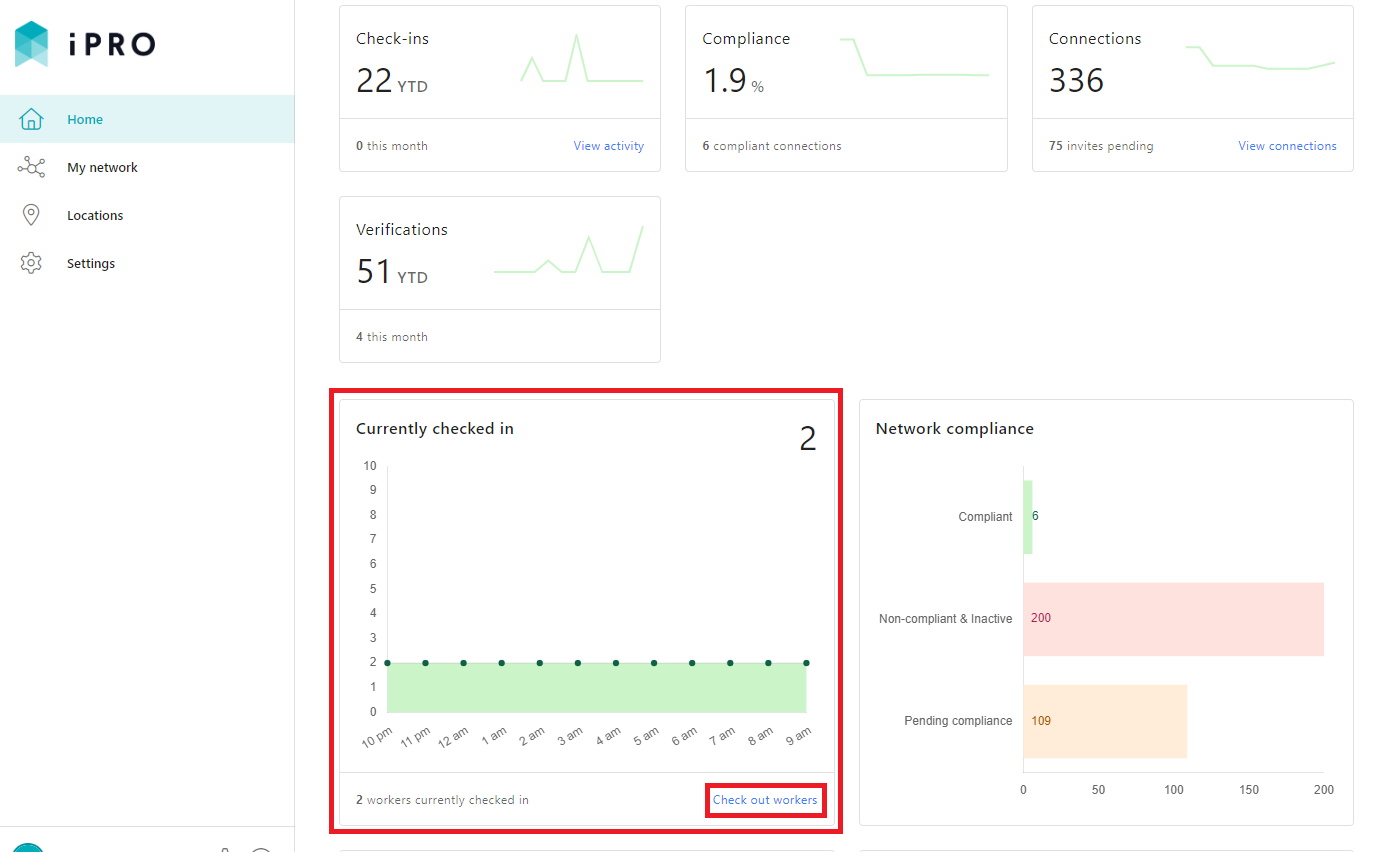
The dashboard contains a number of charts, tables, and metrics for you to get an at-a-glance overview of your network. It also provides a snapshot of recent onsite worker activity, and is available to those clients that have worker compliance and check-in/check-out requirements at their locations. Hyperlinks are provided to quickly take you to the relevant areas on the platform where you can access more information.
- Click Home in the left hand side menu - the Dashboard will be displayed.
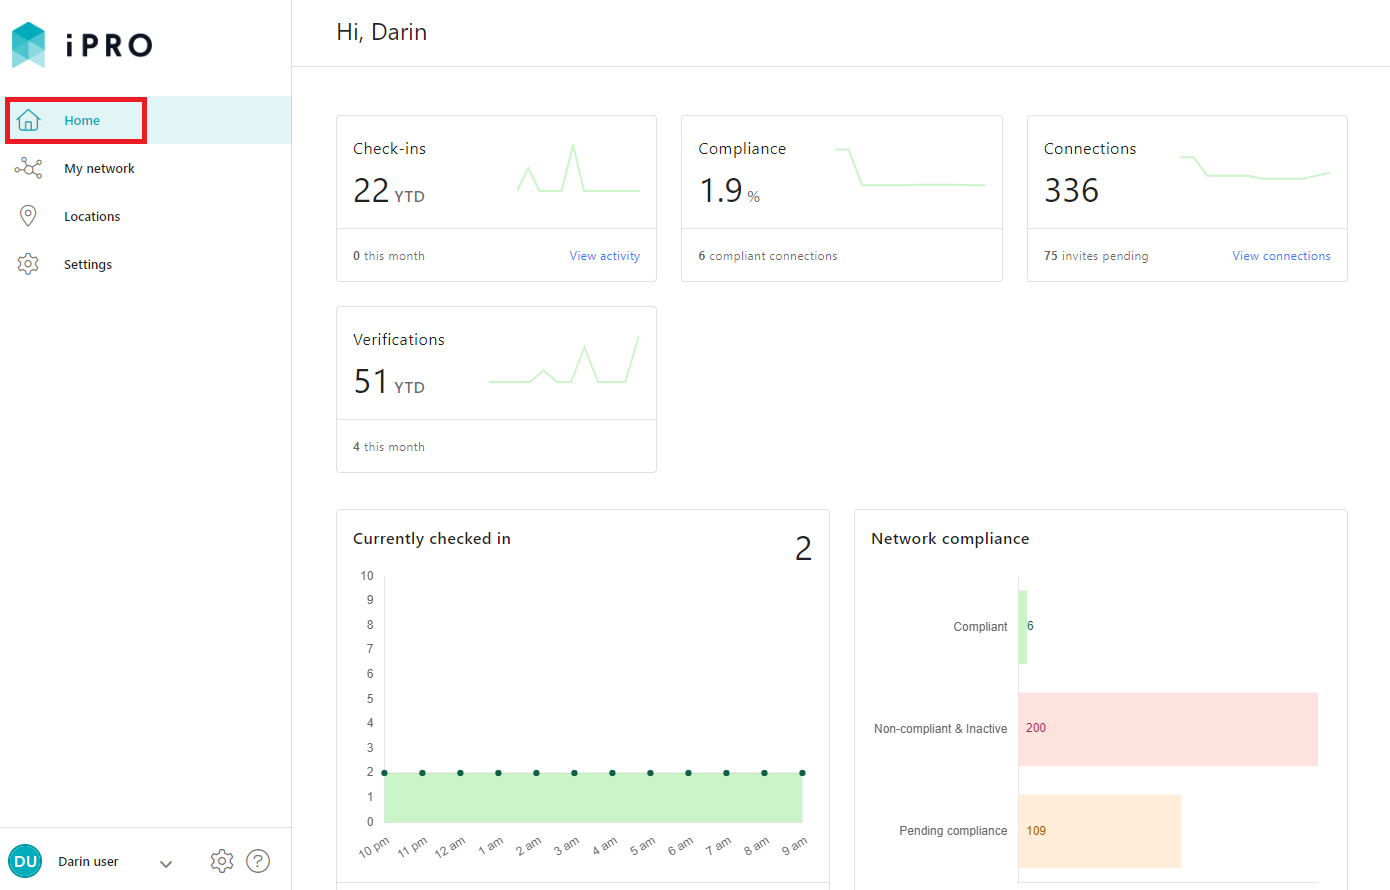
-
Currently checked in: displays the total number of workers that are currently checked in across all locations on the present day.
Click the Check out workers hyperlink to be redirected to a list of all workers that are currently checked in.
- To select all workers, select the topmost record selector indicated by the box icon, or individually select those workers that need to be checked out. The number of workers selected will be reflected in the CHECK OUT X WORKER button, where X is the number of selected workers. Click this button to check out the selected workers from their respective checked in locations. When presented with the notification, click CLOSE.


2. Checking out via Locations > Activity > Actions
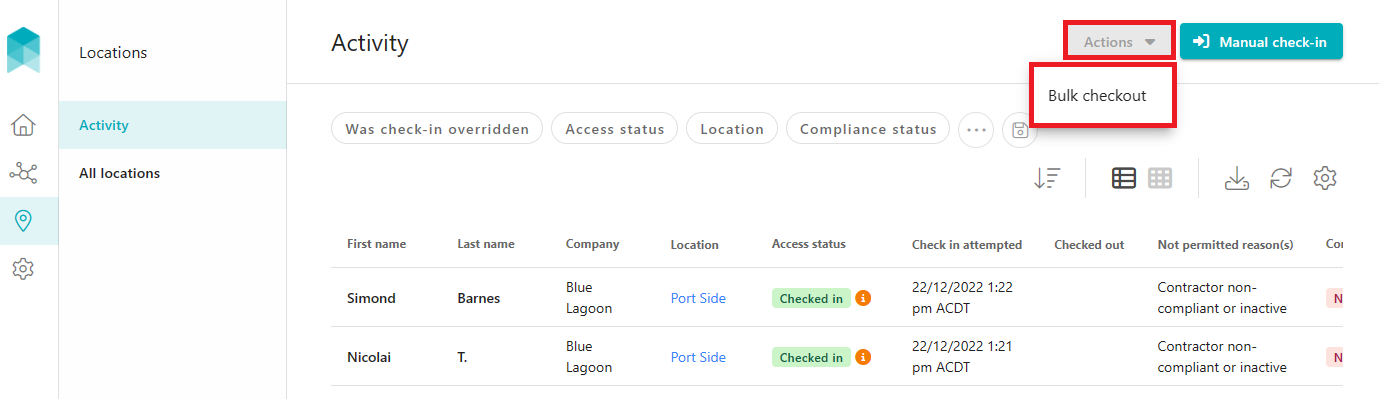
- Click Locations in the left hand side menu - a list of all worker activity across all locations will be displayed.

- Click the Actions button, and then Bulk Checkout.

- To select all workers, select the topmost record selector indicated by the box icon, or individually select those workers that need to be checked out. The number of workers selected will be reflected in the CHECK OUT X WORKERS button, where X is the number of selected workers. Click this button to check out the selected workers from their respective checked in locations. When presented with the notification, click CLOSE.

3. Checking out via Locations > Activity > Check out
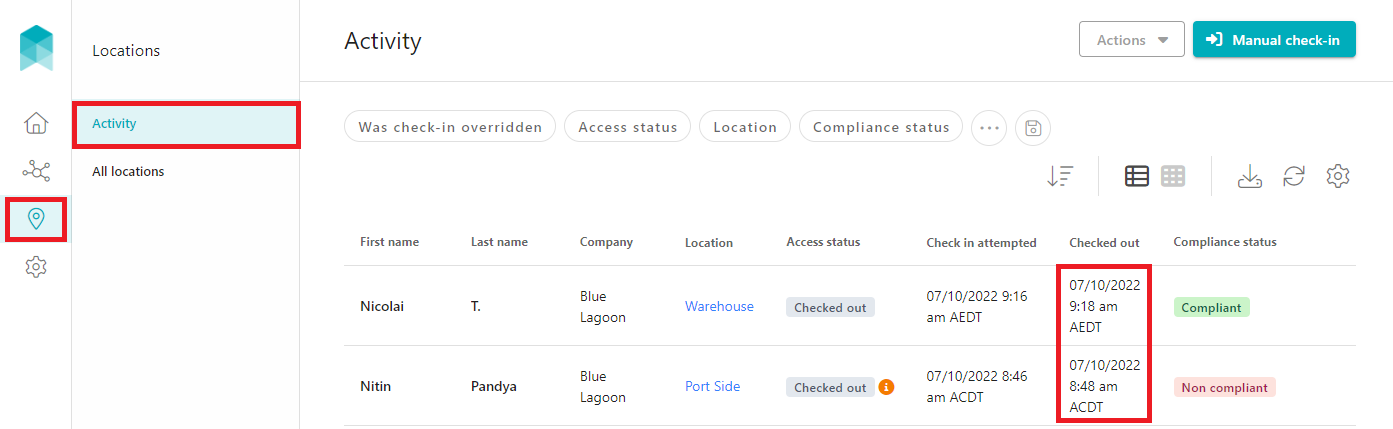
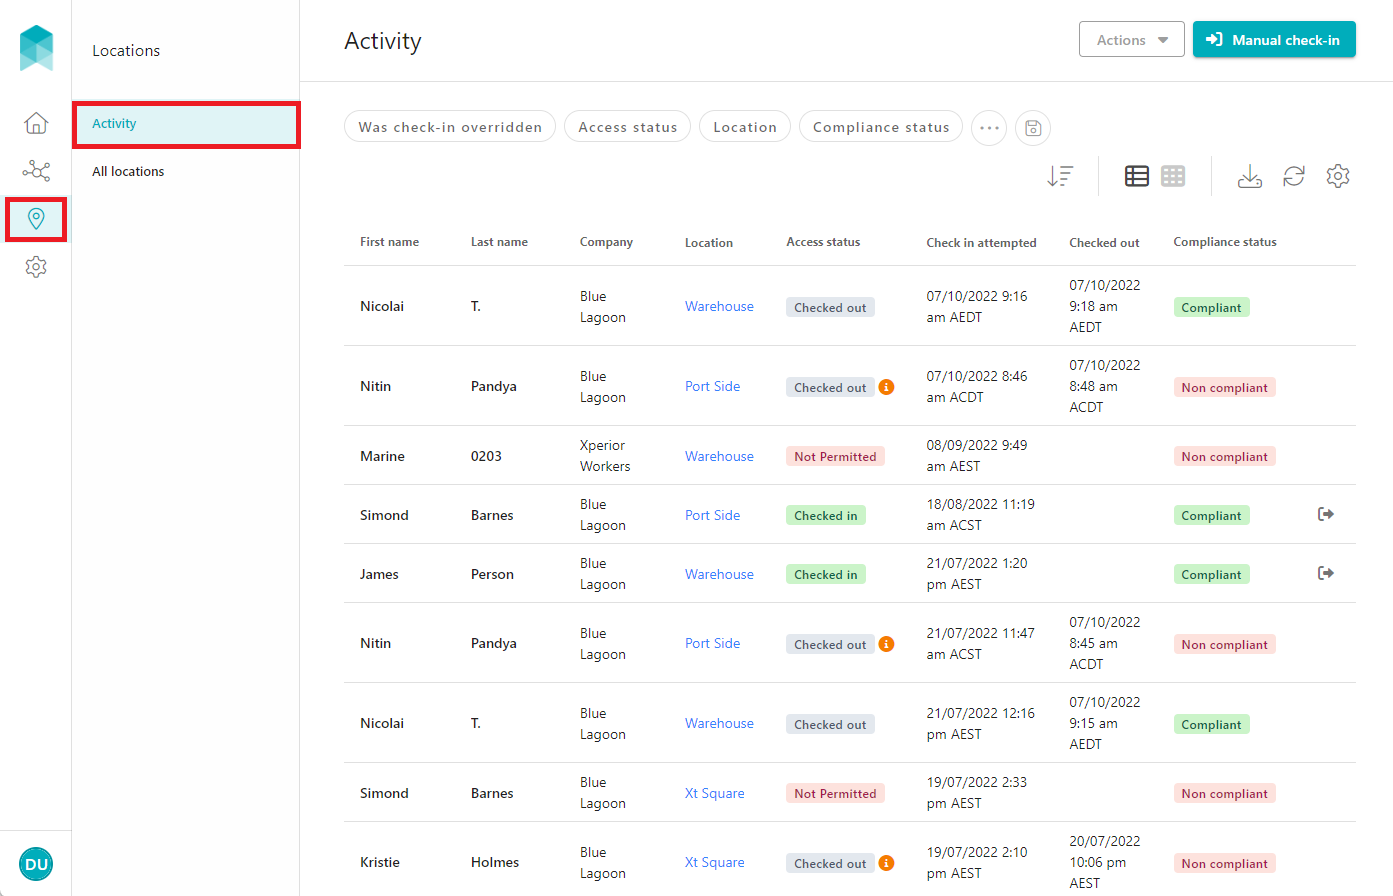
- Click Locations in the left hand side menu - a list of all worker activity across all locations will be displayed.
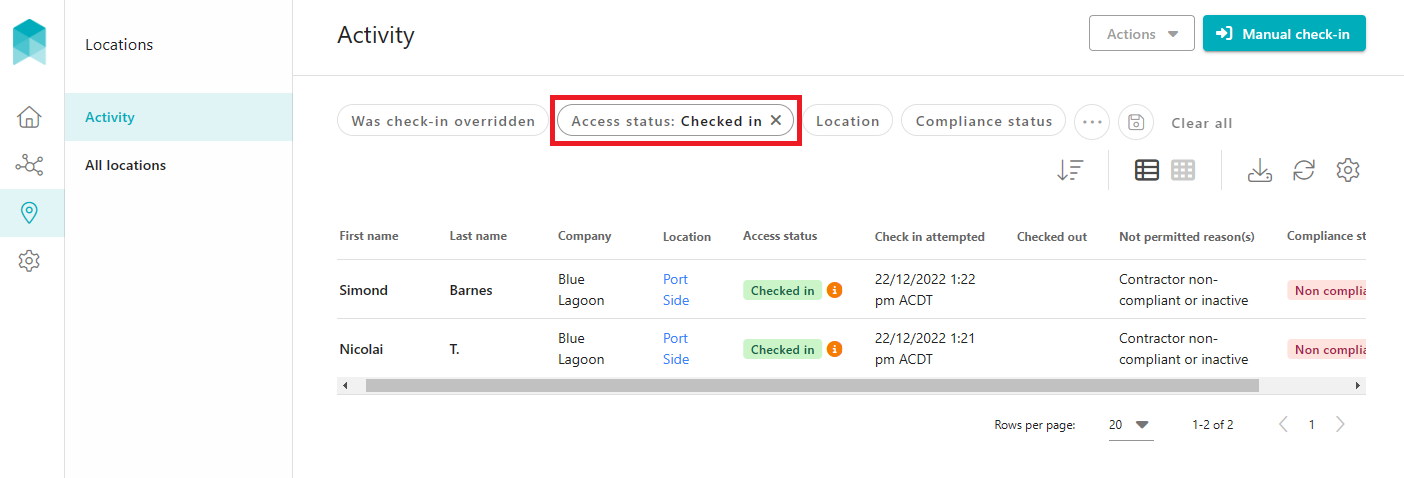
- Display those workers who are currently checked in by using the filters appearing above the Activity list; filter by Access status is Checked in. If required, apply additional filters to narrow down the search results.

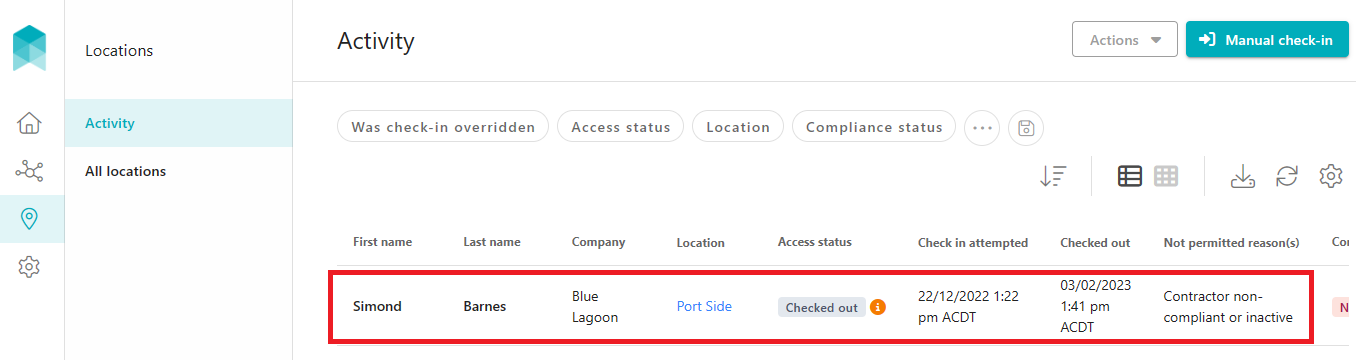
- Click on Check out, indicated by the outward arrow icon, beside the applicable worker, and then click the CHECK OUT button to confirm. When presented with the confirmation notification, click CLOSE.
The worker will be checked out, and their Access status will be updated to Checked out.